Can You Put Primer in a Paint Sprayer? Tips for Spraying Primer with a Paint Sprayer

Looking for a hassle-free way to apply primer to your DIY project? Using a paint sprayer can save you time and deliver a smooth finish without the worry of brushstrokes or roller marks. But, as with any painting technique, there are a few tricks to getting it right. In this post, we’ll explore the benefits of using a paint sprayer for primer, tips for preparing your surface, and steps to ensure proper application.
Whether you’re painting furniture or tackling a room makeover, mastering the art of paint spraying can be a game-changer for the finishing touches of any project. So, grab your sprayer and let’s get started!
Understanding Paint Sprayers
Yes, you certainly can use primer in a paint sprayer. In fact, it can be an effective way to apply primer, as it allows for a more even and efficient application. Using a paint sprayer for primer is common practice among professional painters, as it saves time and ensures a smooth finish.
However, it is important to use the correct type of primer for your specific project and follow the manufacturer’s instructions for mixing and spraying. Additionally, it is essential to properly clean and maintain the sprayer to prevent clogs or damage. Whether you’re a DIY enthusiast or a professional painter, using a paint sprayer for primer can yield impressive results and save you time and effort in the long run.
Types of Paint Sprayers
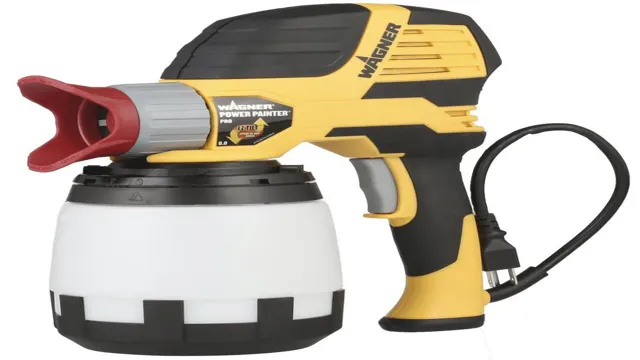
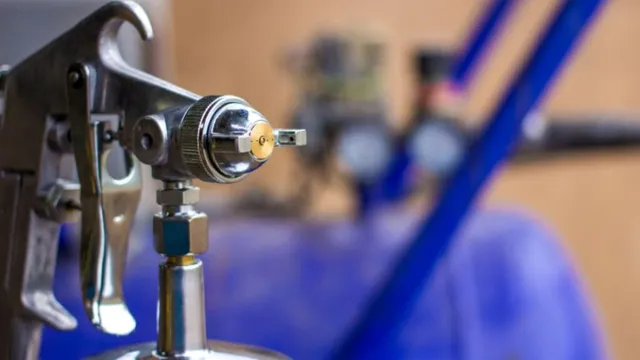
When it comes to painting, there are different types of paint sprayers to choose from. Understanding the different types can help you make an informed decision on which one to use for your project. Airless paint sprayers use high pressure to atomize the paint, resulting in a finer finish and faster coverage.
HVLP (High Volume Low Pressure) sprayers use less pressure and more air to produce a softer finish with less overspray. LVLP (Low Volume Low Pressure) paint sprayers use even less pressure and require less power, making them more affordable and suitable for smaller projects. Each type of sprayer has its advantages and disadvantages, so it is important to consider the material you will be spraying, the size of your project, and your budget before making a decision.
Whether you are a professional or a DIY enthusiast, choosing the right paint sprayer can save you time, effort, and money in the long run.

Advantages of Using a Paint Sprayer for Primer
Paint sprayers have revolutionized the world of painting, especially when it comes to applying primer. Primer is a crucial element in ensuring the perfect finish for your paint job, protecting the underlying surface and providing a smooth base for the paint. Using a paint sprayer for primer has several advantages over traditional methods.
Firstly, it saves a lot of time and effort. With a sprayer, you can cover large areas quickly, and the even application ensures a uniform coat. Secondly, it provides a professional finish that is usually hard to achieve with brushes or rollers.
The atomized spray produces a fine mist of paint that settles evenly and gives a smooth, flawless finish. You can also adjust the spray pattern and pressure to suit the surface you are painting, making it a versatile tool. Lastly, it saves on material costs by reducing waste and overspray.
Paint sprayers use less paint than traditional methods and produce less overspray, minimizing the cleanup required. Overall, paint sprayers are a game-changer when it comes to applying primer, saving time, effort, and money while producing a flawless finish.
Preparing Your Paint Sprayer
Yes, you can absolutely put primer in a paint sprayer. In fact, a paint sprayer can be a great tool for applying primer quickly and evenly over large surfaces. However, there are a few things you need to do to prepare your paint sprayer for use with primer.
First, you’ll want to make sure your sprayer is clean and free of any old paint or debris that could clog the nozzle. Next, you’ll need to choose the right nozzle size for your primer, as different types of primer may require different nozzle sizes to achieve the best results. Finally, be sure to mix your primer thoroughly and strain it before pouring it into your sprayer’s reservoir.
With a little preparation, you can use your paint sprayer to make your priming job faster and easier than ever before.
Choosing the Right Primer
Choosing the right primer is a crucial step in any painting project. Your primer acts as a base for your topcoat, enhancing adhesion and durability. It also helps to hide any imperfections on your surface and smooth out any rough areas.
When selecting a primer, it’s important to consider the surface you’re painting, the type of paint you’re using, and any specific concerns you may have, such as water damage or stains. For example, if you’re painting a glossy surface, you may need a primer specifically designed for adhesion. Similarly, if you’re working with a water-stained wall, you may need a primer that can block stains and prevent them from bleeding through your topcoat.
By taking the time to choose the right primer, you can ensure a smooth and long-lasting finish for your paint job.
Cleaning Your Paint Sprayer
Preparing your paint sprayer for cleaning is an important step in maintaining its lifespan and performance. Before you begin, make sure to wear protective gloves and eyewear. First, empty any remaining paint and flush out the paint sprayer with the recommended cleaning solution or solvent, such as water or mineral spirits.
Then, disassemble the paint sprayer by taking apart the tip, guard, and hose. Soak these parts in the cleaning solution or solvent for the recommended time and use a cleaning brush to gently scrub away any stubborn residue. Once the parts have soaked, rinse them thoroughly with water and allow them to air dry before reassembling.
Taking the time to properly prepare your paint sprayer for cleaning will ensure it stays in good working condition and ready for your next project.
Steps for Applying Primer with a Paint Sprayer
Can you put primer in a paint sprayer? Absolutely! In fact, it’s a great way to ensure even coverage and save time. Here are the steps for applying primer with a paint sprayer: Choose the right spray tip size for your primer type and surface you’re working on.
Cover nearby objects and surfaces with drop cloths or painter’s tape to prevent overspray.
Fill the paint sprayer with your primer and test spray it on a scrap piece of material to ensure the consistency is correct. Begin at the highest point of your surface and work your way down, holding the sprayer 6-8 inches away from the surface.
Use a sweeping motion, overlapping each pass to ensure even coverage.
Allow the primer to dry according to the manufacturer’s instructions before applying additional coats or paint. Remember to clean your paint sprayer thoroughly after use to maintain its longevity and prevent any clogs. Happy priming!
Step 1: Prime the Paint Sprayer
If you’re looking to apply primer to a surface using a paint sprayer, the first step is to prime the paint sprayer itself. This involves filling the sprayer with the appropriate primer and adjusting the nozzle settings to ensure a fine mist is produced. It’s important to follow the manufacturer’s instructions and wear appropriate safety gear during this process.
Once the sprayer is primed, you can begin applying primer to your surface, keeping the sprayer at a consistent distance and angle for even coverage. Be sure to work in small sections to prevent drips and allow adequate drying time between coats. By properly priming your sprayer and following these steps, you can achieve a smooth and professional-looking surface with ease.
Step 2: Mix and Dilute the Primer
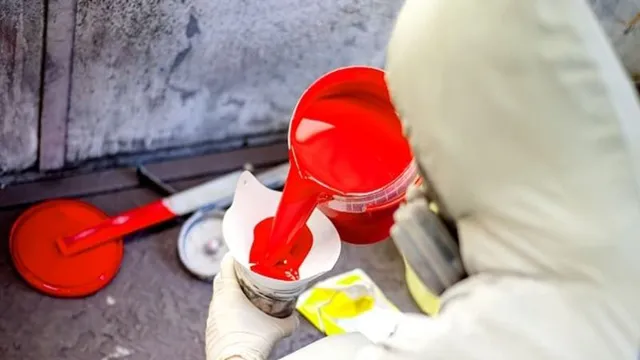
When applying a primer with a paint sprayer, it’s important to mix and dilute the primer properly to ensure a smooth and consistent finish. Start by reading the manufacturer’s instructions for the recommended ratio of the primer to the dilutant. Once you have the correct measurements, pour the primer into a bucket, add the dilutant, and mix thoroughly.
Check the consistency of the mixture by dipping a viscosity cup into the mixture and timing how long it takes for it to empty out. The ideal timing will depend on the type of paint sprayer you are using and the type of surface you are painting. If the mixture is too thick, add more dilutant, and if it’s too thin, add more primer.
Remember to mix the primer frequently while you are spraying to maintain an even consistency throughout the job. By following these steps, you can ensure that your primer is ready for spraying and that your surface is properly primed for the next layer of paint.
Step 3: Test Your Sprayer
If you want to apply primer using a paint sprayer, it’s important to test your sprayer before you start to ensure that everything is working correctly. To do this, fill the paint cup with water, connect the sprayer to an air compressor, and adjust the settings according to the manufacturer’s instructions. Then, hold the sprayer about 6-10 inches away from a scrap piece of cardboard or wood and pull the trigger to start spraying.
Check the pattern of the spray and the consistency of the paint. If everything looks good, you’re ready to start applying primer. Using a paint sprayer for primer application can be a quick and efficient way to get the job done.
However, it’s essential to test the sprayer before you begin to make sure everything is working correctly. By doing this, you can avoid any potential issues or malfunctions that could ruin your project. So, take the time to test your sprayer before you start, and you’ll be sure to get the best results.
Step 4: Apply Primer
Applying primer is an essential step in any paint job, and it’s important to make sure that you do it right if you want your paint to look good and last a long time. When using a paint sprayer to apply primer, there are a few key steps you’ll want to follow to ensure that everything goes smoothly. First, make sure you have the right primer for your project – there are different types of primer available, so choose one that is appropriate for the surface you’ll be painting.
Next, take care to apply the primer evenly, using a consistent motion to avoid any streaks or drips. Keep the sprayer moving at a steady pace, and make sure to overlap each pass slightly to ensure even coverage. It may take some practice to get the hang of it, but with a little patience and attention to detail, you’ll be able to apply primer like a pro!
Conclusion
In conclusion, asking whether you can put primer in a paint sprayer is like asking if you can put gasoline in a diesel engine – technically, you can, but it’s not recommended and could cause some serious problems. Just like you wouldn’t want to risk damaging your vehicle’s engine, it’s best to use the proper equipment and products when tackling your painting projects. Invest in a quality primer designed for sprayers and enjoy a smooth and flawless finish on your next paint job!”
FAQs
What is a primer?
A primer is a preparatory coating applied to a surface before painting.
Can you put primer in a paint sprayer?
Yes, you can put primer in a paint sprayer. Just make sure to choose a tip size appropriate for the thickness of the primer being used.
Do you need to thin primer before putting it in a paint sprayer?
It depends on the primer and the paint sprayer. Some primers require thinning before spraying, while others can be used straight out of the can.
What are the benefits of using a paint sprayer for priming?
Using a paint sprayer for priming can save time and provide a more consistent and even application.
What types of primers are suitable for use in a paint sprayer?
Most types of primer can be used in a paint sprayer, including oil-based, water-based, and latex primers.
Can a paint sprayer be used for both primer and paint?
Yes, many paint sprayers can be used for both primer and paint, but it’s important to clean the sprayer thoroughly between uses.
Are there any safety precautions to take when using a paint sprayer for primer?
Yes, always wear appropriate personal protective equipment, such as goggles and a respirator mask, and make sure to work in a well-ventilated area.


